Create a Provisioning Policy in Windows 365 for Cloud PC
In this article, I will show you how to create a provisioning policy in Windows 365 for Cloud PCs. The provisioning policies in Windows 365 are the engines that build, configure, and make Cloud PCs available to end users.
When you create or provision a Cloud PC in Windows 365, you assign them to users based on the provisioning policies.
The provisioning policies includes the key provisioning rules and settings that allow the Windows 365 service to set up and configure the appropriate Cloud PCs for your users.
You create a provisioning policy in Windows 365 and assign it to Azure AD user groups or Microsoft 365 groups.
In this article, you’ll understand what is a provisioning policy in Windows 365, how to create a new provisioning policy for Cloud PCs in Windows 365 and assign it to users or user groups.
How does Windows 365 use Provisioning Policy?
Once the Cloud PC provisioning policy is assigned to users/user groups, the Windows 365 service does the following checks:
- Checks for appropriate licensing for each user – Windows 365 determines if the user is assigned with active Cloud PC license. This means if a user doesn’t have a Cloud PC license assigned, then Windows 365 will not provision their Cloud PC. Read how to assign Windows 365 License to Cloud PC User.
- Configures the Cloud PCs accordingly – Based on rules that you specify, the Cloud PCs are configured. If you create multiple provisioning policies, Windows 365 service always uses the first assigned policy to provision the Cloud PC.
Steps to Create a Provisioning Policy in Windows 365 for Cloud PC
Let’s look at the steps to create a Provisioning Policy in Windows 365 for Cloud PCs:
- Sign in to the Microsoft Endpoint Manager admin center.
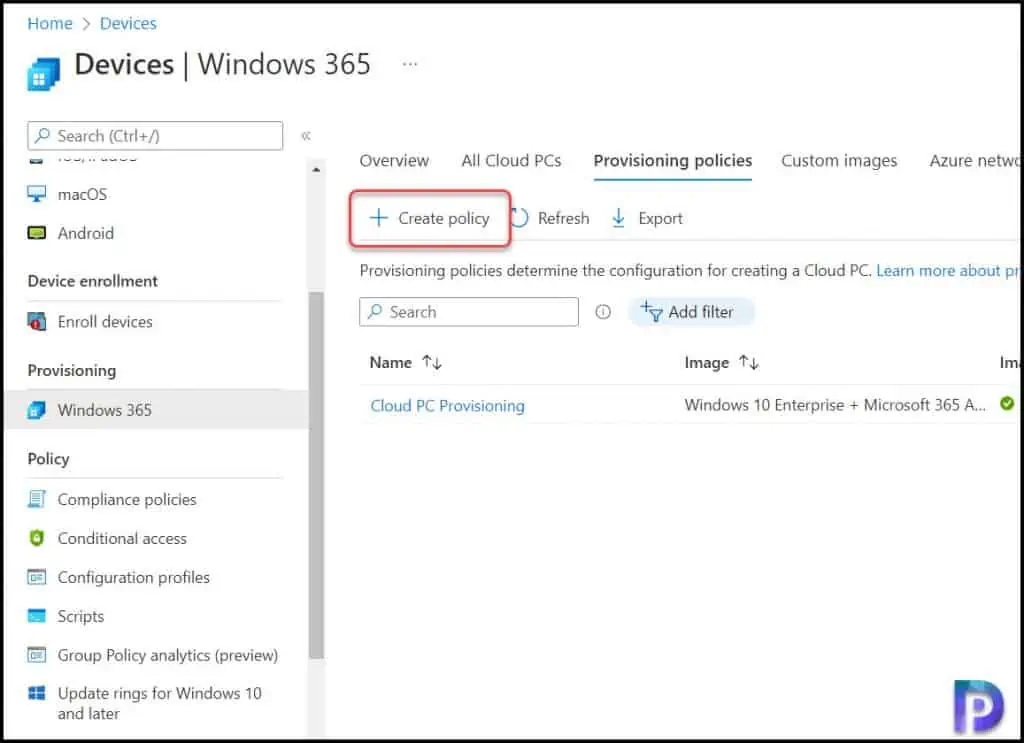
- Select Devices > Windows 365 (under Provisioning) > Provisioning policies
- To create a new provisioning policy, click Create policy.
On General tab of the new policy, specify the name and description for Windows 365 Cloud PC provisioning policy.
Note: The provisioning policy name cannot contain the following characters: < > & | ” ^. Ensure you don’t include them in the name while creating policy.
Specify Join Type for Cloud PCs
When you create a Provisioning Policy in Windows 365, you need to specify the join type for the Cloud PCs. The join type specifies the identity services provided by Windows 365 to facilitate authentication and services for Cloud PCs.
Windows 365 uses both Microsoft Azure AD and on-premises Active Directory Domain Services (AD DS) for Cloud PCs.
There are two options for selecting the join type for Cloud PCs:
- Azure AD Join
- Hybrid Azure AD Join
Let’s understand the difference between the Azure AD Join and Hybrid Azure AD Join for Cloud PCs. I recommend reading the Windows 365 Identity Services for better understanding of join types.
When configuring Cloud PCs to use Hybrid Azure AD Join, AD DS provides:
- On-premises domain join for the Cloud PCs.
- User authentication for the Remote Desktop Protocol (RDP) connections.
When configuring Cloud PCs to use Azure AD Join, Azure AD provides:
- The domain join mechanism for the Cloud PCs.
- User authentication for RDP connections.
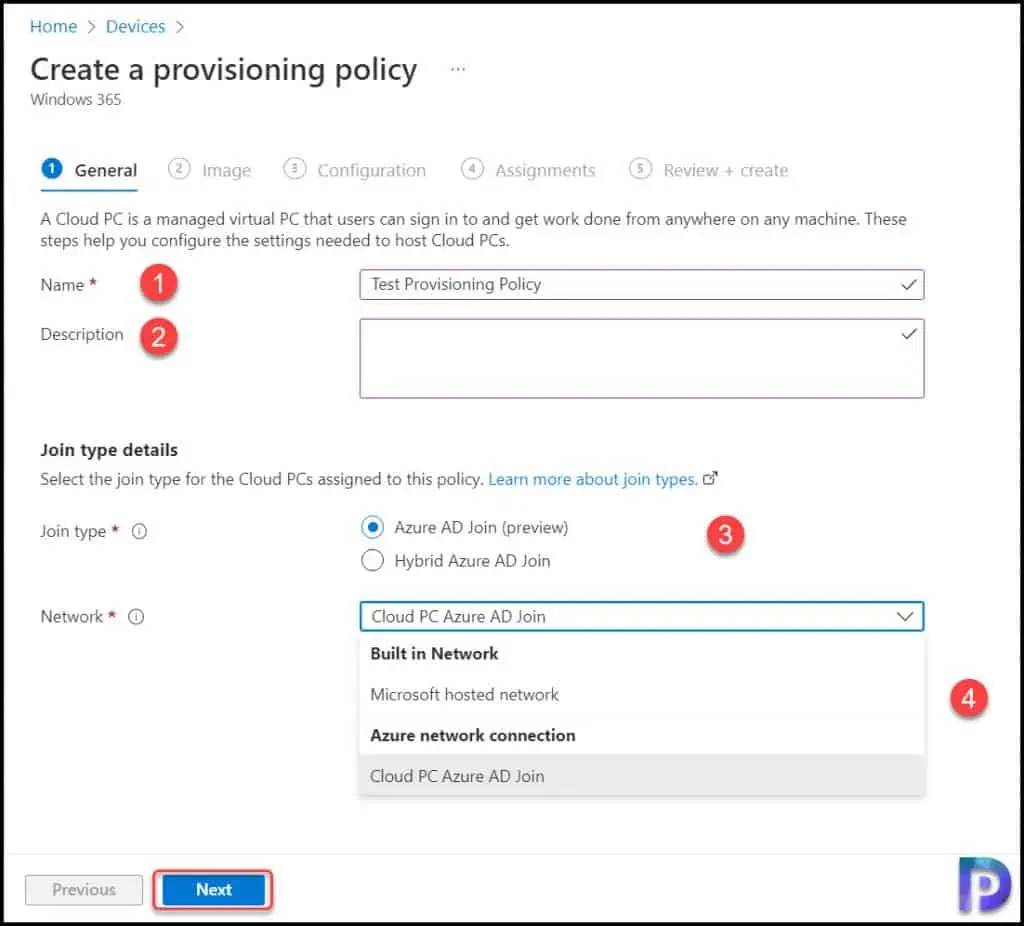
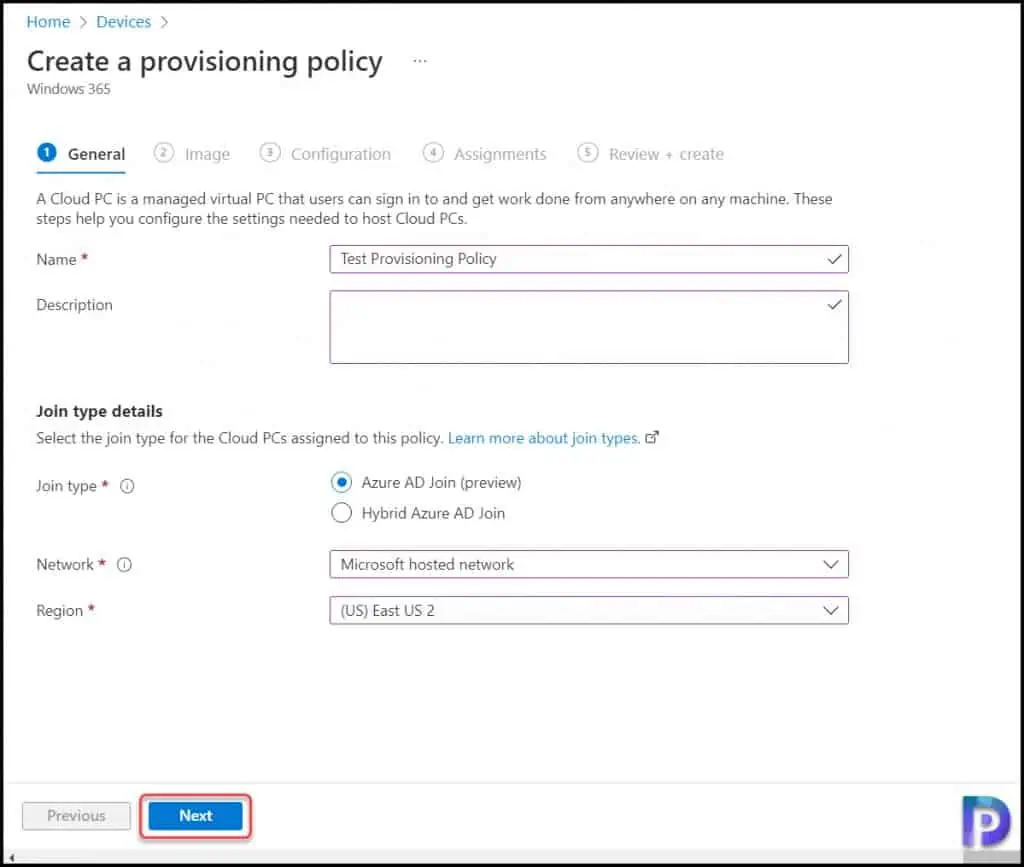
If you select the combination of Azure AD Join (preview) and Microsoft Hosted Network, you must select a region for Microsoft to host your Cloud PC.
The following options have been configured for join type details:
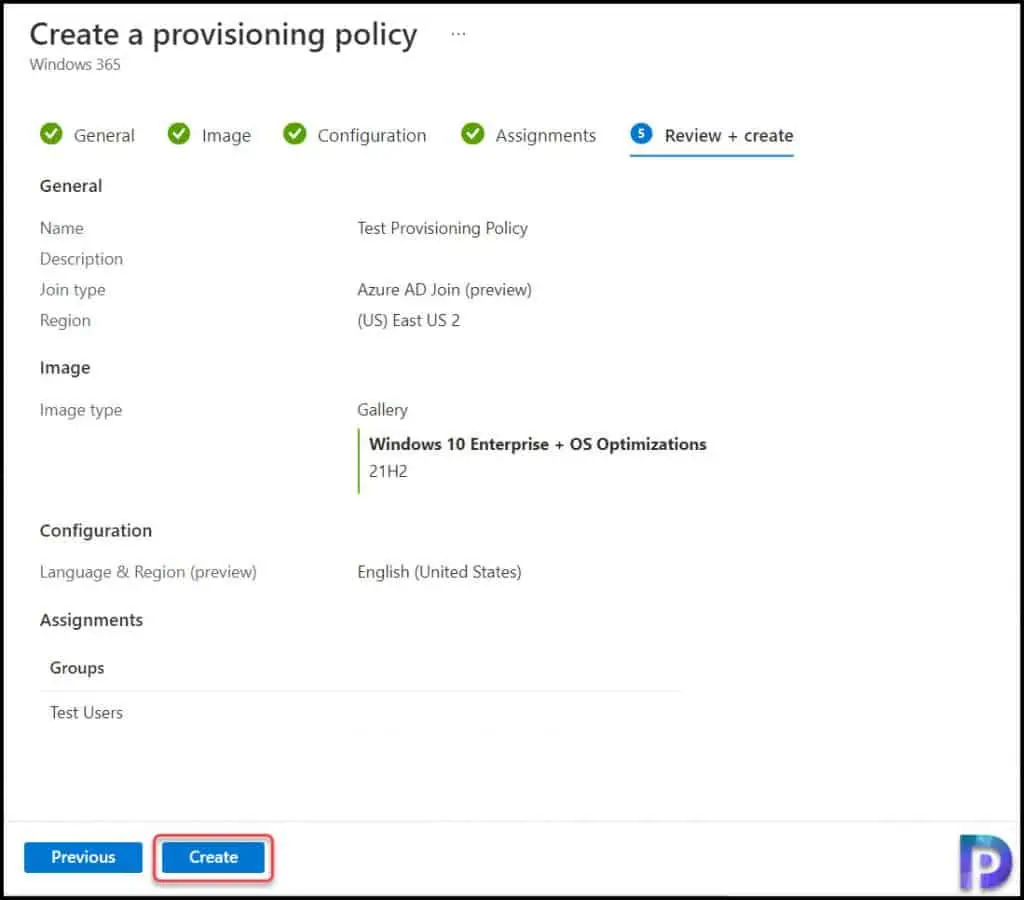
- Join Type – Azure AD Join
- Network – Microsoft Hosted Network
- Region – US (East US 2)
Click Next to continue.
Cloud PC Device Images in Windows 365
Windows 365 uses both default and custom operating system images to automatically create the virtual Cloud PCs that you provide to your end users.
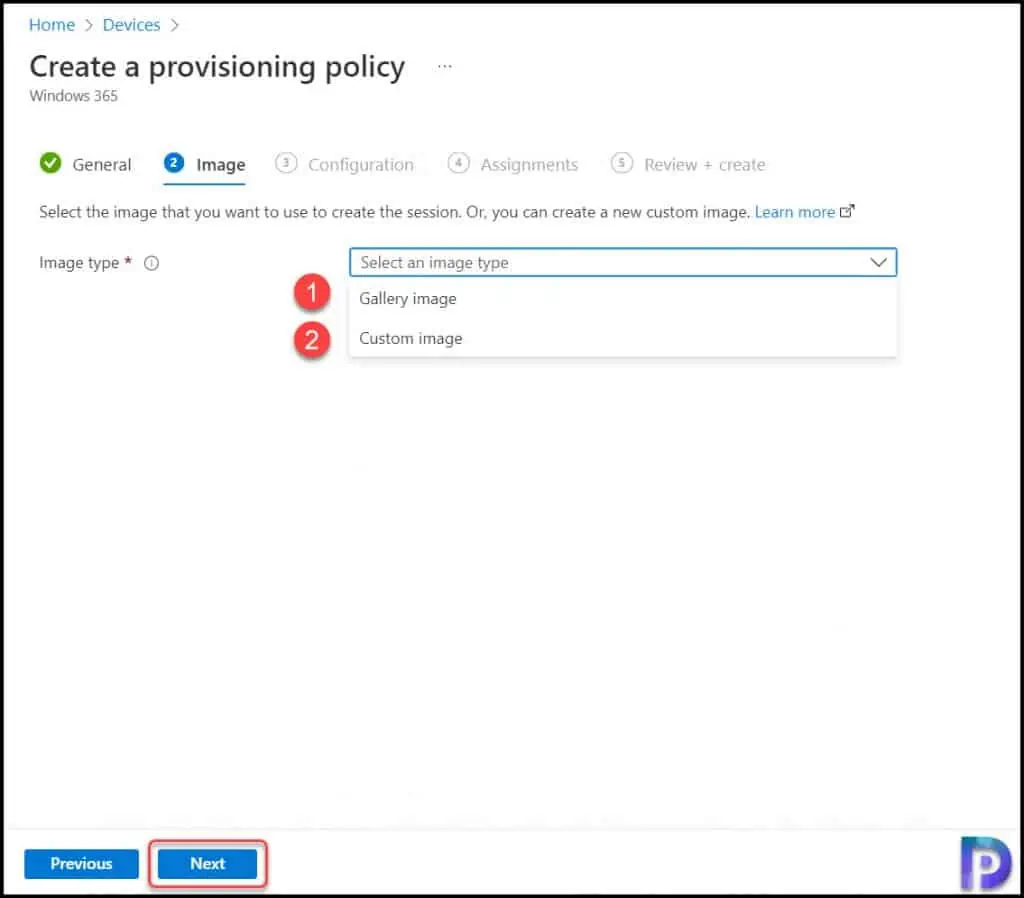
On the Image page, for Image type, select one of the following options:
- Gallery image: Choose Select > select an image from the gallery > Select. Gallery images are default images provided for your use.
- Custom image: Choose Select > select an image from the list > Select. You’ll see the list of images that you uploaded using the Add device images.
The following example shows the list of Gallery Images for Cloud PCs. Each image has a name, version and recommendation.
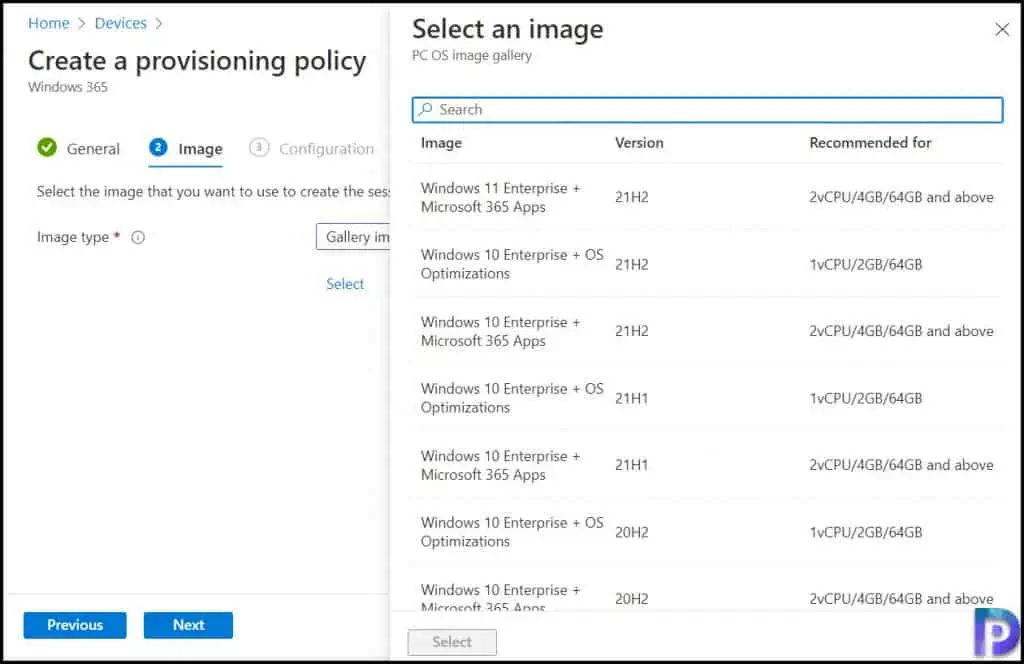
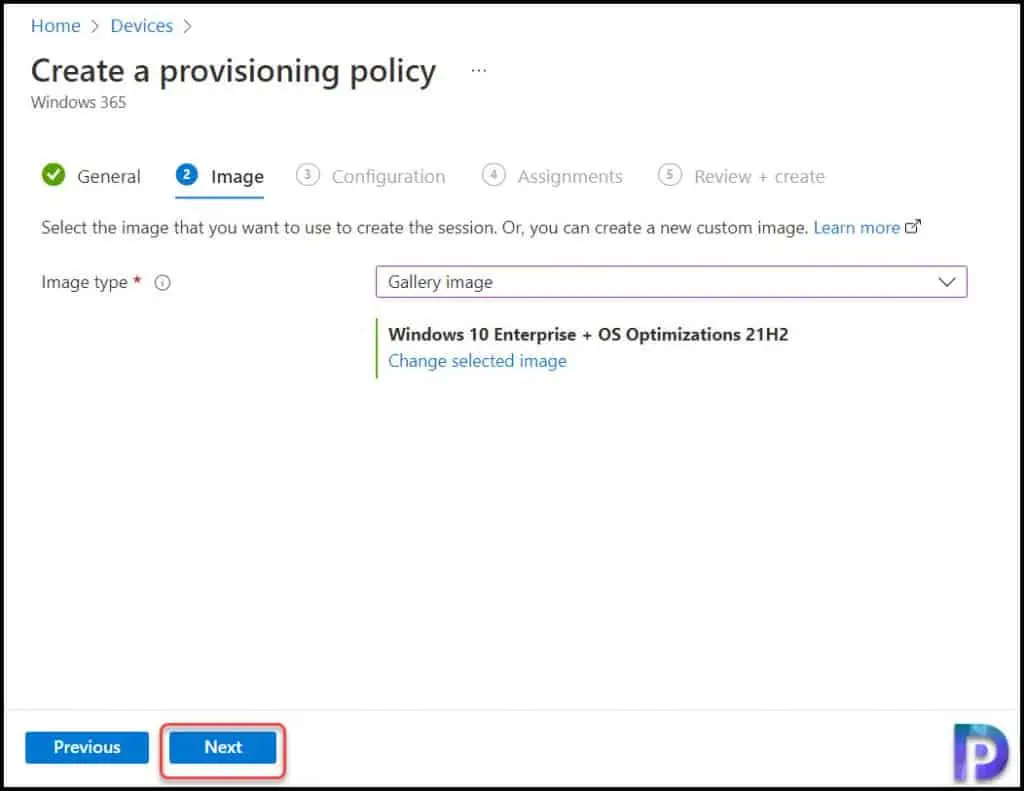
Pick an gallery image that better suits your Cloud PC license. You should see the selected OS on the screen. Click Next to continue.
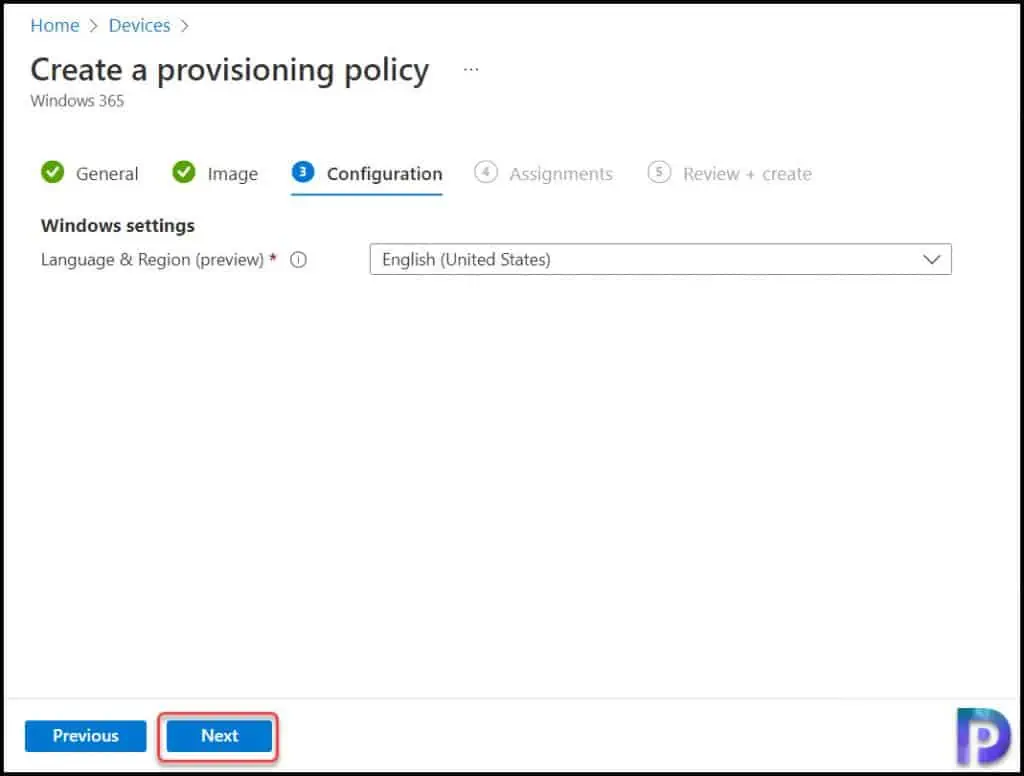
On the Configuration page of Create a provisioning policy, select the language and region settings. Click the drop-down and select your desired language and region. Click Next.
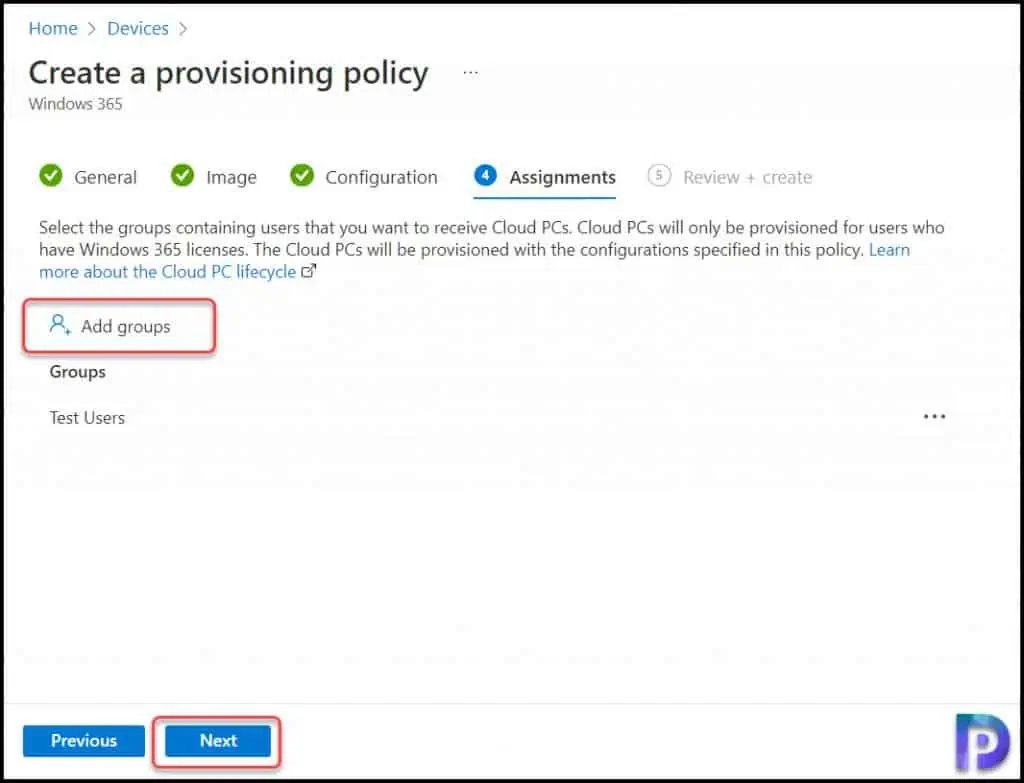
On the Assignments page, click Add groups and choose the groups you want this policy assigned. Click Next to continue.
Verify the Provisioning Policy settings on Review+Create page and click Create.
In the top-right corner of the screen, you will see a notification “Successfully added new policy” which confirms the Provisioning Policy has been created in Windows 365 for Cloud PCs.
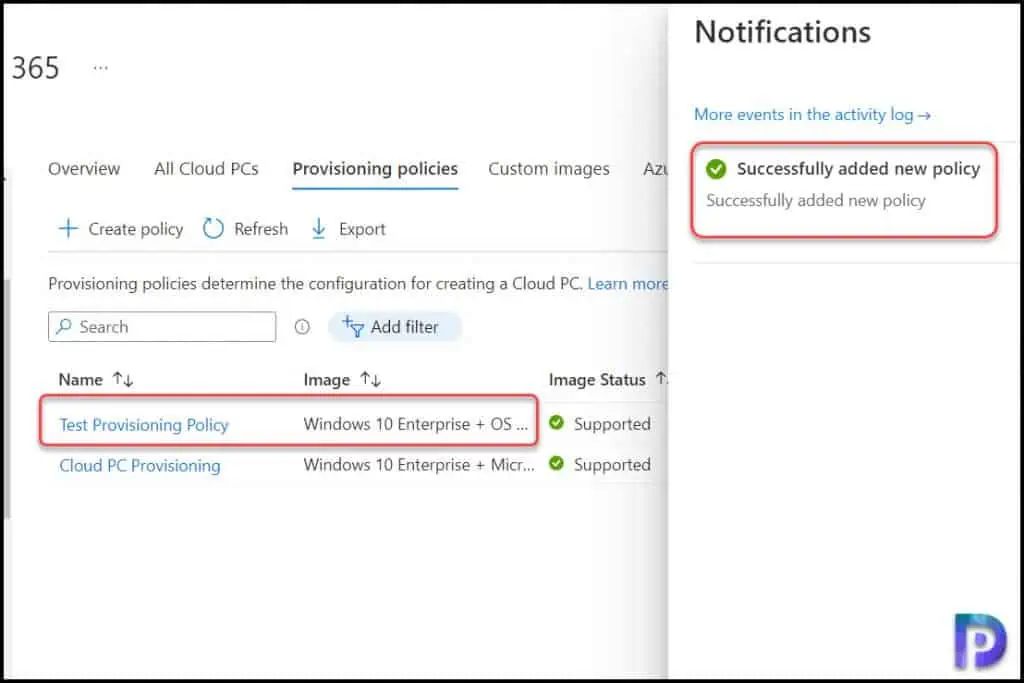
To find the list of all the provisioning policies created in Windows 365, go to Devices > Windows 365 > Provisioning Policies.
